How to Remove Old Window Tint: DIY vs. Professional Removal in Calgary
Quick answer: Old window tint must be completely removed before new tint can be applied — applying new film over old creates bubbles, haziness, and adhesion failure. Professional removal costs $75–$150 and takes 1–2 hours — DIY removal takes 4–8 hours and risks scratching glass or damaging defroster lines.
Key Takeaways
- Old window tint must be completely removed before new tint can be applied — applying new film over old creates bubbles, haziness, and adhesion failure.
- Professional removal costs $75–$150 and takes 1–2 hours — DIY removal takes 4–8 hours and risks scratching glass or damaging defroster lines.
- Purple, bubbling, or peeling tint indicates the adhesive and dye have degraded — removal is needed regardless of whether you plan to retint.
- Rear window defroster lines are the most common casualty of improper tint removal — they cannot be repaired once broken.
Your old window tint has turned purple, started bubbling, or just looks tired. Before new tint goes on, the old film must come off completely. Here is what to expect from the removal process — whether you DIY or go professional.
Signs Your Tint Needs Removal
Dye molecules have degraded from UV exposure. The film no longer provides effective heat rejection and looks unprofessional. This is the most common sign in Calgary due to high UV intensity.
The adhesive has failed and separated from the glass. Air pockets form between the film and glass. Once bubbling starts, it accelerates — the entire film will need replacement.
Film pulling away from glass edges. Once edges lift, moisture and dirt get under the film, accelerating adhesive failure across the entire panel.
Delamination — the film's layers are separating. Reduces visibility and looks terrible. Common in bargain films after 2–3 years.
Professional Removal Process
Heat Application
15–20 minControlled heat (heat gun or steamer) softens the adhesive layer, allowing the film to release from the glass without tearing into small pieces.
Film Peeling
20–40 minStarting from one corner, the film is peeled in controlled strips. Proper technique maintains large pieces (not tiny fragments). Defroster lines on rear window get special attention.
Adhesive Removal
20–30 minAdhesive remover solution dissolves remaining glue. Plastic scrapers (not metal) remove residue without scratching glass. Multiple passes for stubborn areas.
Glass Cleaning
10–15 minThorough glass cleaning with glass cleaner and lint-free cloths. Surface inspection for any remaining adhesive or contamination. Glass must be perfectly clean for new tint.
DIY vs. Professional Removal
| Factor | DIY Removal | Professional Removal |
|---|---|---|
| Time required | 4–8+ hours | 1–2 hours |
| Cost | $10–$30 (supplies) | $75–$150 |
| Defroster damage risk | High (razor blade use) | Low (heat + chemical method) |
| Glass scratch risk | Moderate–High | Very Low |
| Adhesive residue handling | Challenging (sticky mess) | Clean (professional solvents) |
| Equipment needed | Heat gun, razors, solution, towels | All provided |
| Frustration level | Very High | None (drop off vehicle) |
| Suitable for | Experienced, patient DIYers | Everyone |
The Defroster Problem
⚠️ Critical Warning: Rear Window Defroster Lines
Rear defroster lines are thin metallic traces printed onto the glass surface. They are delicate and cannot be reattached once pulled off. DIY tint removal with razor blades or aggressive peeling is the number one cause of defroster line damage. Once damaged, the affected defroster line(s) stop working permanently. Repair requires either a conductive paint pen (unreliable) or rear glass replacement ($300–$1,000+). Professional removal uses controlled heat that softens the adhesive uniformly — the film releases without pulling on defroster lines.
When to Remove vs. When to Tint Over
- Always remove: Old aftermarket tint film — it must always be stripped before new film.
- Never remove: Factory privacy glass — this is part of the glass itself and cannot be removed. New tint goes over it.
- Optional: Factory UV coating — some vehicles have a factory UV coating (not film) that does not need removal. New tint adheres normally over it.
Let us handle the removal. Contact Obsidian Auto — we include free tint removal when you purchase new ceramic tint installation. Or book removal-only at competitive pricing. See our pricing guide and services for more details.
Stay Cool and Protected This Summer
Premium window tinting in Calgary
Serving Calgary and surrounding areas • Free Uber shuttle with every service
Frequently Asked Questions
Ready to Protect Your Vehicle?
Get a quote from Calgary's most trusted detailing studio. We use only the best materials and back our work with industry-leading warranties.
Get A QuoteRelated Intelligence
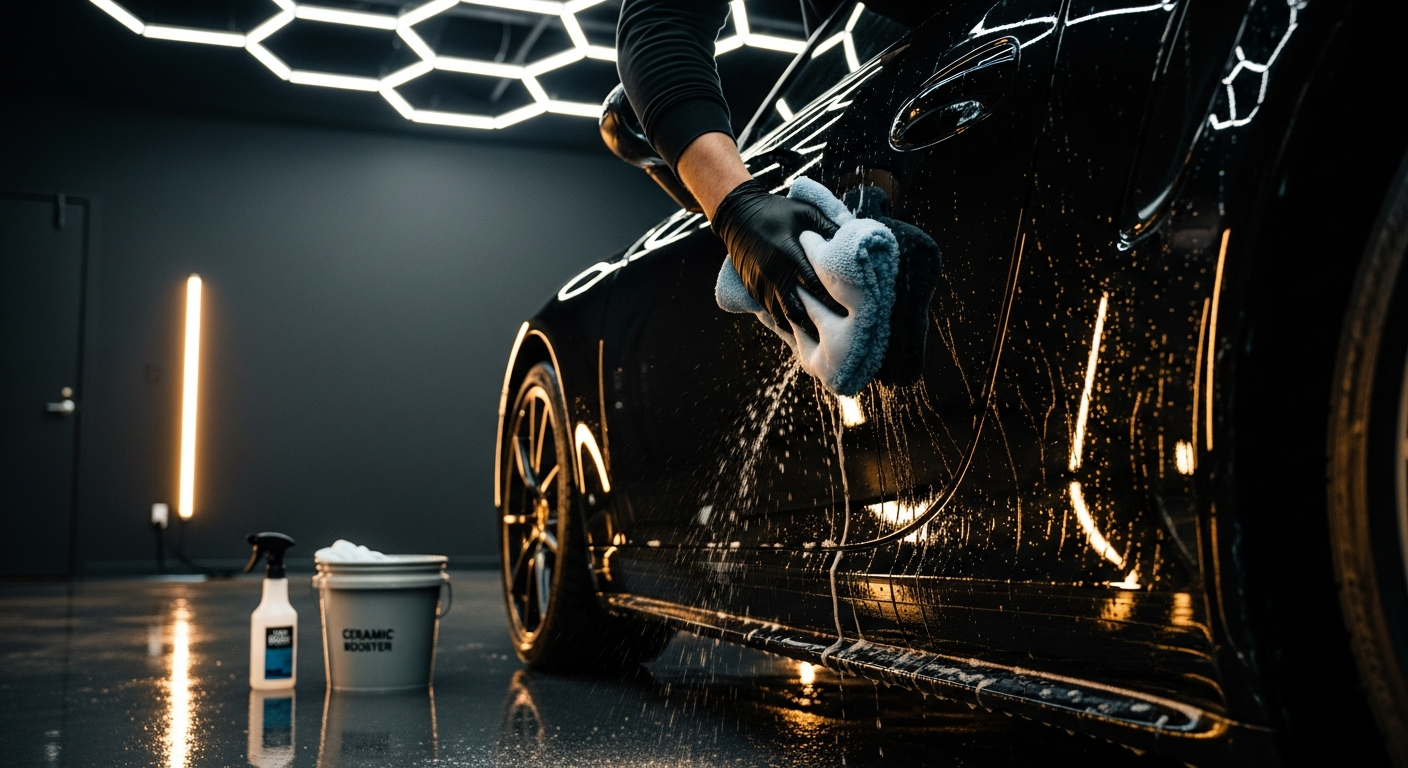
How to Clean and Maintain PPF in Calgary: The Definitive Care Guide
Protect your investment. The dos and don'ts of washing PPF, choosing soaps, and using ceramic boosters.
Ceramic Coating Maintenance in Calgary (2026 Guide)
How to maintain a ceramic coating in Calgary: the pH-neutral wash routine, booster schedule, annual decon, and the mistakes that quietly kill your coating.

How to Safely Remove Bugs, Tar, and Sap from PPF Without Damage
Summer road trips mean bug splatters. Here is the safe way to clean sticky contaminants from your PPF.