DIY PPF Kits vs Professional Installation in Calgary: The Real Cost
Quick answer: DIY PPF kits cost $200–$600 for materials but require 8–15 hours of careful work with a high failure rate for beginners. The most common DIY mistakes — trapped dust, edge lifting, stretch marks, and blade cuts — are expensive to fix professionally.
Key Takeaways
- DIY PPF kits cost $200–$600 for materials but require 8–15 hours of careful work with a high failure rate for beginners.
- The most common DIY mistakes — trapped dust, edge lifting, stretch marks, and blade cuts — are expensive to fix professionally.
- DIY kits are pre-cut with 1/4-inch gaps at every edge, making them visually inferior and less durable than hand-wrapped professional installations.
- Self-installing PPF voids most manufacturer warranties, leaving you without coverage if the film yellows or degrades.
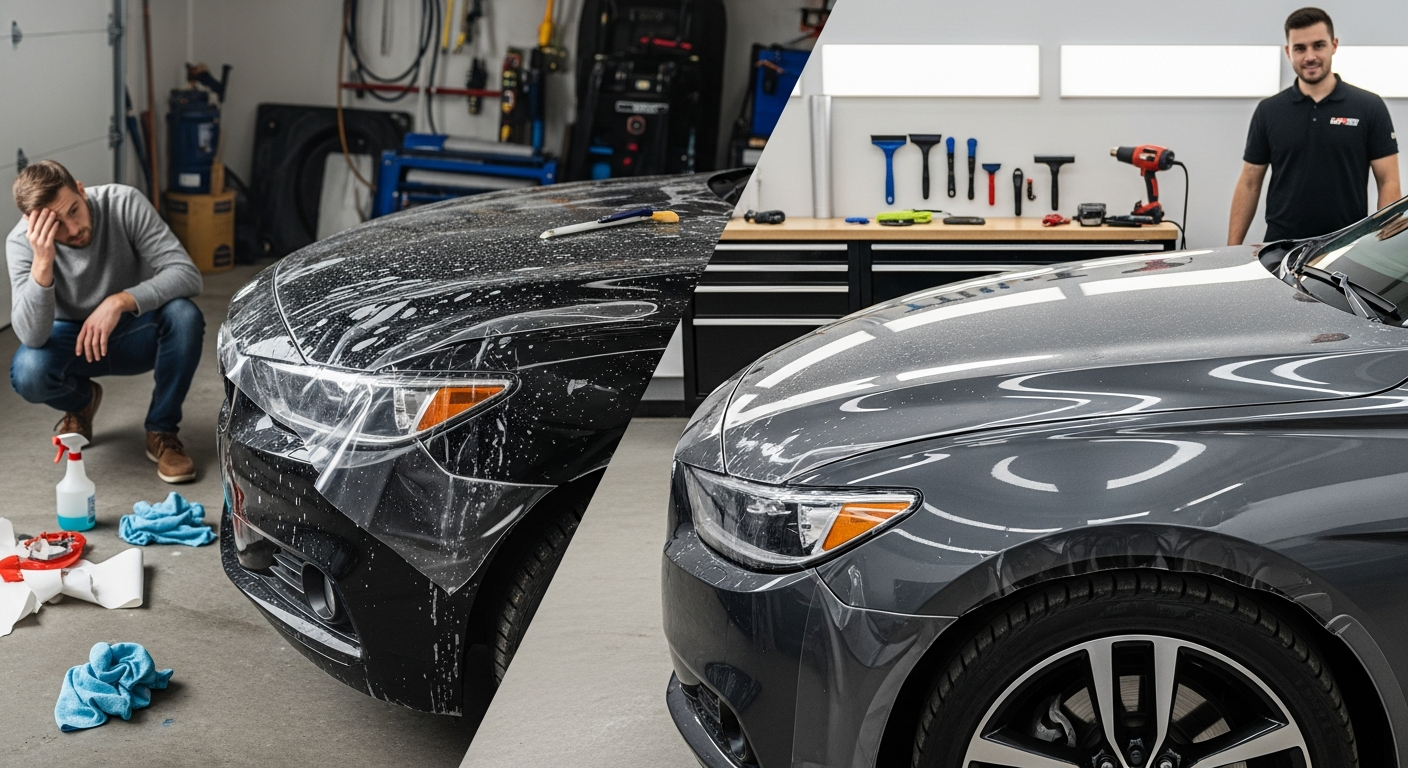
For flat, low-visibility panels a DIY PPF kit can work, but for the hood, bumper, and fenders it rarely pays off: most first-time attempts on curved panels fail and end up costing more than a professional install would have. DIY professional PPF installation in Calgary kits have exploded in popularity thanks to YouTube tutorials and Amazon availability. For $200–$600, various manufacturers will ship you pre-cut film panels for virtually any vehicle. The question is not whether DIY kits exist — it is whether they are actually worth the risk.
After years of removing failed DIY installations at our our Calgary PPF studio, we have a detailed understanding of where self-installation works, where it fails catastrophically, and the real cost when things go wrong. This guide gives you an honest assessment so you can make an informed decision.
What You Actually Get in a DIY PPF Kit
A typical DIY PPF kit for a full front (hood, bumper, fenders, mirrors) includes:
- Pre-cut film panels based on your vehicle's year, make, and model
- Spray application solution (slip solution for positioning)
- A basic plastic squeegee (usually without a felt edge)
- Installation instructions (often a QR code linking to a YouTube video)
What the kit does not include: heat gun, knifeless tape, tack solution, clay bar, paint decontaminants, lint-free cloths, or any surface preparation supplies. You also will not have a climate-controlled workspace with filtered air — and in Calgary, environmental contamination is the #1 cause of DIY failures.
The Pre-Cut Gap Problem
Every DIY kit uses pre-cut patterns. These patterns are designed by software to fit your vehicle's panels, but they are intentionally cut 1/4 inch smaller than the actual panel edge. This gap serves a practical purpose for DIY installers — it eliminates the need for edge wrapping, which is the single hardest technique in PPF installation.
The problem? That 1/4-inch gap is visible on every panel edge. It collects dirt, wax, and road grime, creating visible dark lines around your hood, fenders, and bumper. Worse, exposed edges are the primary failure point for peeling — high-pressure car washes, ice scraping, and Calgary's temperature swings all exploit these unsealed edges.
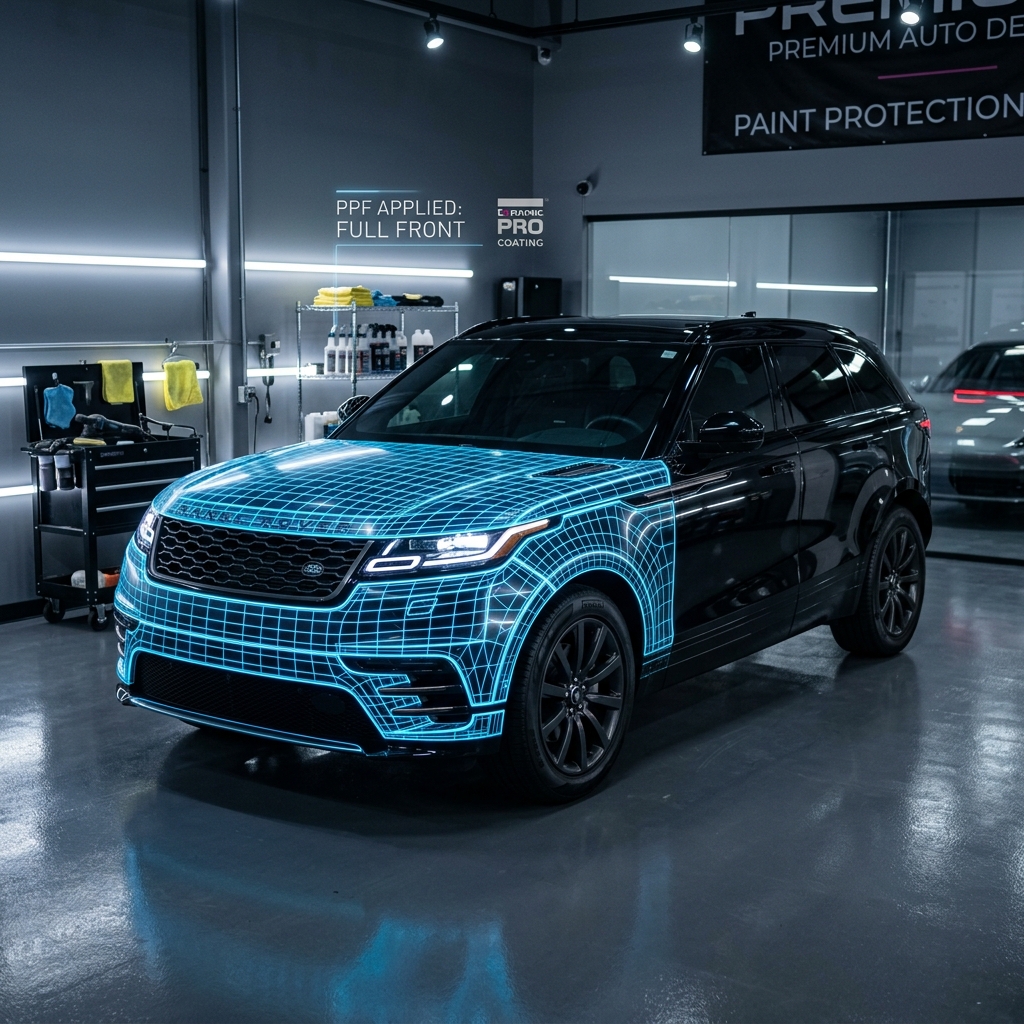
Professional installations solve this by hand-wrapping every edge — the film is cut with excess material and folded around the panel edge, creating an invisible, sealed boundary. This is the most time-consuming part of installation, which is exactly why DIY kits skip it. Read more about what separates great installs from average ones in our installer selection guide.
The 5 Most Common DIY Failures We See in Calgary
We document every DIY removal that comes through our studio. These five failure modes account for 95% of all DIY jobs we are asked to fix:
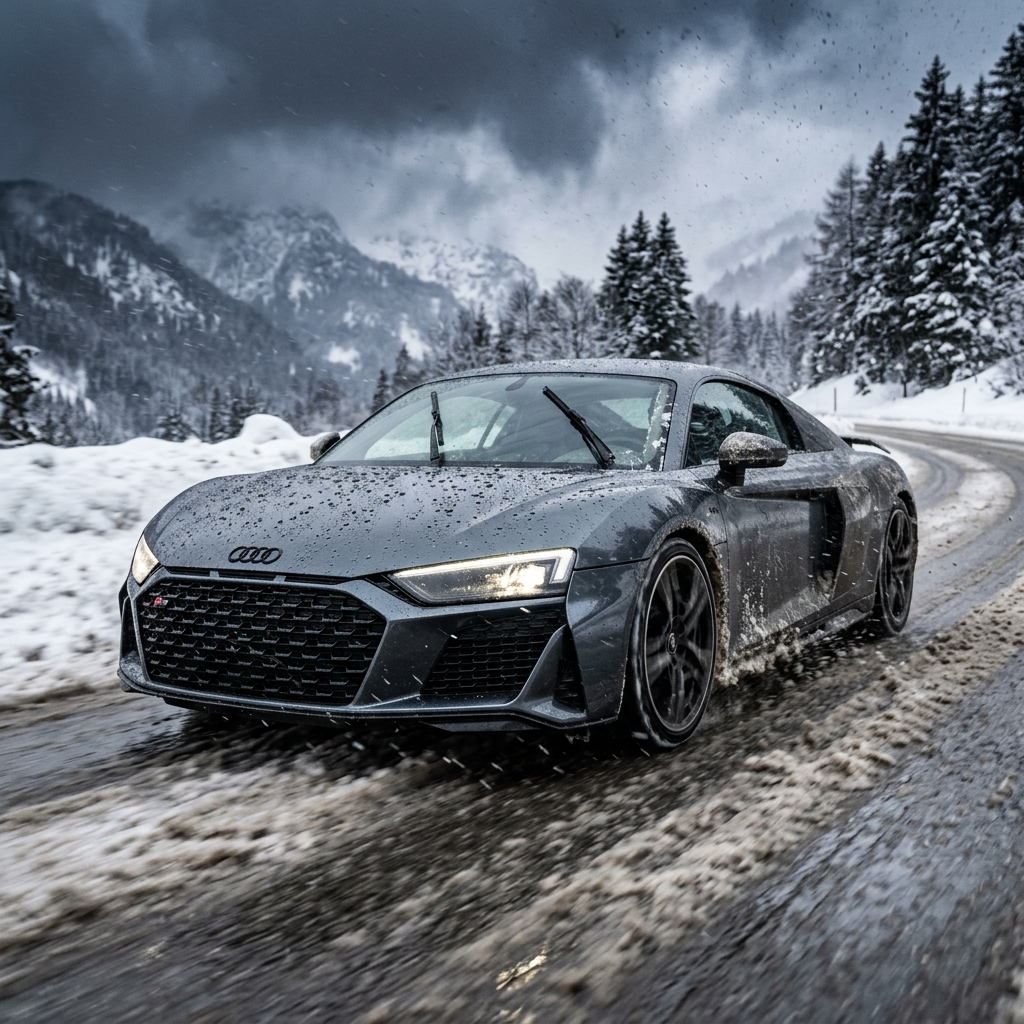
In our Calgary studio, the DIY rescues tend to arrive after the first hard winter. A customer wraps a hood in their garage in October, then by March the road salt and the temperature swings from minus 25 to a chinook thaw have lifted every pre-cut edge, and gravel chip from the highway has worked its way under the film. By the time it reaches our bench, we are usually removing distorted film, correcting blade scores in the clear coat, and starting the install over from bare paint.
1. Dust Contamination (45% of failures)
Home garages are dusty. Every particle trapped under the film creates a visible bump that cannot be removed without lifting the entire panel. In Calgary's dry climate, static electricity makes airborne dust even more problematic.
2. Edge Peeling (25% of failures)
Pre-cut edges begin lifting within 3–6 months, especially through car washes and winter temperature cycling. Once an edge lifts, dirt enters the gap and prevents re-adhesion. The peel accelerates progressively.
3. Stretch Marks and Distortion (15% of failures)
PPF stretches permanently when heated too aggressively or pulled too hard during application. On complex curves (bumper corners, mirror caps), beginners frequently over-stretch the film, creating silvery distortion marks visible in sunlight.
4. Blade Cuts in Paint (10% of failures)
Despite pre-cut kits, many DIY installers need to trim excess material. Using an X-Acto knife or razor on your vehicle creates invisible score marks in the clear coat. These cuts are not visible under the film but become permanent scratches when the film is eventually removed.
5. Air Bubbles (5% of failures)
Trapped air pockets that cannot be squeegeed out, especially common on curved surfaces. Small bubbles may seem minor but they expand and contract with Calgary's temperature swings, eventually creating permanent deformities.
Where DIY PPF Actually Makes Sense
Not every PPF application requires professional installation. Here are the applications where DIY kits deliver acceptable results for most people:
Door Cup Guards
Flat, small, low-visibility area under door handles. Easy to apply, forgiving of minor mistakes.
Door Sill Protectors
Flat horizontal strips on door entry points. Prevents heel scuffs and is invisible when doors are closed.
Rear Bumper Ledge
Flat area on top of rear bumper where cargo loading scratches paint. Simple rectangular application.
For everything else — the hood, front bumper, fenders, headlights, mirrors, and rocker panels — the complexity of curves, edge wrapping, and dust management makes professional installation the far smarter investment.
The Real Cost Comparison
The initial price difference looks dramatic. A DIY full front kit costs $300–$600 versus $1,500–$2,200 for professional installation. But factor in the realistic probability of mistakes and the total cost picture changes entirely:
DIY Attempt (With Common Mistakes)
- DIY kit + tools: $500
- Your time (10+ hours): priceless but significant
- Professional removal: $400
- Paint correction: $400
- Professional re-install: $1,800
- Worst Case Total: $3,100 + 10 hrs
Professional Install (Done Right the First Time)
- Full front with wrapped edges: $1,800
- Paint correction included: $0
- 10-year manufacturer warranty: $0
- Workmanship warranty: $0
- Your time: 0 hours
- Total: $1,800 + 0 hrs
Our Honest Recommendation
If you enjoy detailing as a hobby and want to protect low-risk areas (door cups, sills, trunk ledge), buy quality DIY kits and knock yourself out. It is satisfying work when the panels are flat and the stakes are low.
For the hood, bumper, fenders, and any panel visible to the world — invest in professional installation. The math does not lie: 60–80% of first-time DIY attempts on complex panels require professional correction, and the total cost of DIY-then-fix exceeds professional-from-the-start every time.
If budget is the concern, consider our affordable coverage strategies — partial packages, phased installation, and financing options that make professional protection accessible without cutting corners on quality.
Ready to Protect Your Vehicle from Rock Chips?
Join 705+ Calgary drivers who trust Obsidian Auto for PPF installation
Serving Calgary and surrounding areas • Free Uber shuttle with every service
| Feature | DIY PPF Kit | Professional Install (Obsidian Auto) |
|---|---|---|
| Material Cost | $200–$600 | Included in package |
| Total Cost | $200–$600 + your time | $1,500–$2,200 |
| Installation Time | 8–15 hrs (first attempt) | 1–2 days |
| Edge Finish | 1/4" pre-cut gap | Hand-wrapped, invisible |
| Paint Correction Included | No | Yes (light polish + decontam) |
| Dust Contamination Risk | Very High (home garage) | Minimal (sealed clean room) |
| Manufacturer Warranty | Voided (non-certified) | Full 10-year |
| Workmanship Warranty | None | 3–5 years |
Pros
- Material cost savings of 60–70% compared to professional installation.
- Flexibility to work at your own pace on your own schedule.
- Useful learning experience if you enjoy detailing as a hobby.
- Acceptable results on flat, simple panels like door sills or rear bumper ledges.
Cons
- High failure rate on complex curves (bumper corners, mirrors, headlights).
- No warranty coverage — both manufacturer and workmanship warranties voided.
- Trapped dust and air bubbles visible in sunlight and permanent under the film.
- Blade-cutting on paint creates invisible score marks that surface when film is removed.
- Removing failed DIY film costs $300–$500 — plus paint correction for any damage.
Frequently Asked Questions
Ready to Protect Your Vehicle?
Get a quote from Calgary's most trusted detailing studio. We use only the best materials and back our work with industry-leading warranties.
Get A QuoteRelated Intelligence

PPF Calgary: Is It Worth the Investment in 2026?
A deep dive into the financial math of rock chip repairs in Calgary vs. the cost of PPF. Understand the true ROI of protecting your paint.
How to Choose Between Full Front and Full Body PPF in Calgary
Analyzing Calgary driving habits (Deerfoot vs downtown) to help users select the right package. Which coverage gives you the best protection for your budget?
PPF in Calgary Winters: Does It Crack, Peel, or Yellow?
Seasonal authority content explaining how premium PPF reacts to -40°C, salt, and calcium chloride on Calgary roads.